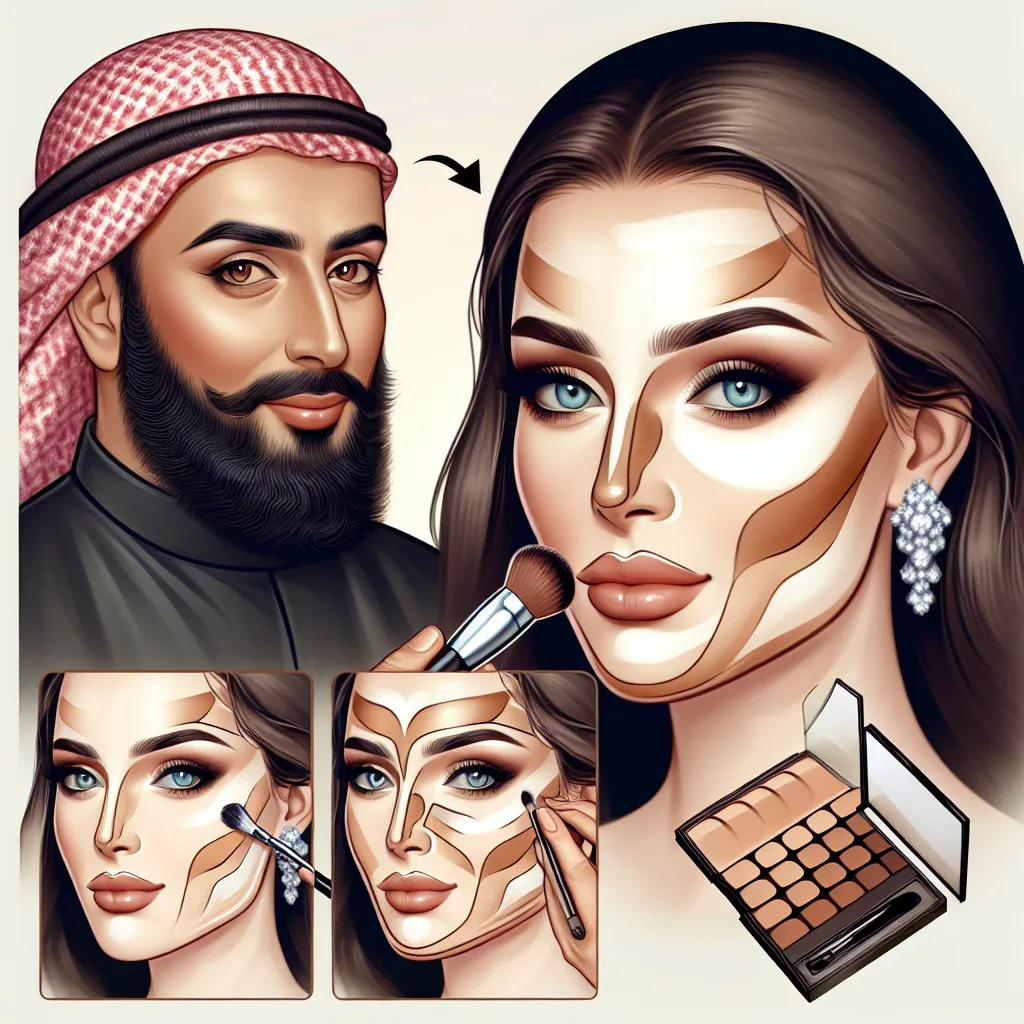
Mastering the Basics of Contouring
Mastering the basics of contouring is essential in enhancing your natural features and achieving a flawless makeup look. Contouring involves using makeup to create shadows and highlights, which can help define and sculpt the face. The key to successful contouring is understanding your face shape and knowing where to apply the product for the most flattering effect.
Before you begin contouring, it’s important to prep the skin with moisturizer and primer to ensure a smooth base. Next, choose a contour shade that is a few shades darker than your natural skin tone. Opt for a cool-toned contour powder or cream for a more natural look.
Start by identifying the areas of your face that you want to contour, typically the hollows of the cheeks, the jawline, the sides of the nose, and the temples. Using a contour brush, apply the product with a light hand and gradually build up the intensity to avoid harsh lines. Blend thoroughly to ensure a seamless finish.
Once you have applied the contour, it’s time to add highlighter to the high points of your face, such as the tops of the cheekbones, the bridge of the nose, the brow bone, and the cupid’s bow. A champagne or pearl-toned highlighter works well for most skin tones and adds a beautiful luminosity to the skin.
Mastering the basics of contouring takes practice, so don’t be discouraged if it doesn’t look perfect on the first try. Experiment with different techniques and products to find what works best for your individual features. With time and patience, you’ll be able to contour like a pro and enhance your natural beauty effortlessly.
Choosing the Right Contouring Products
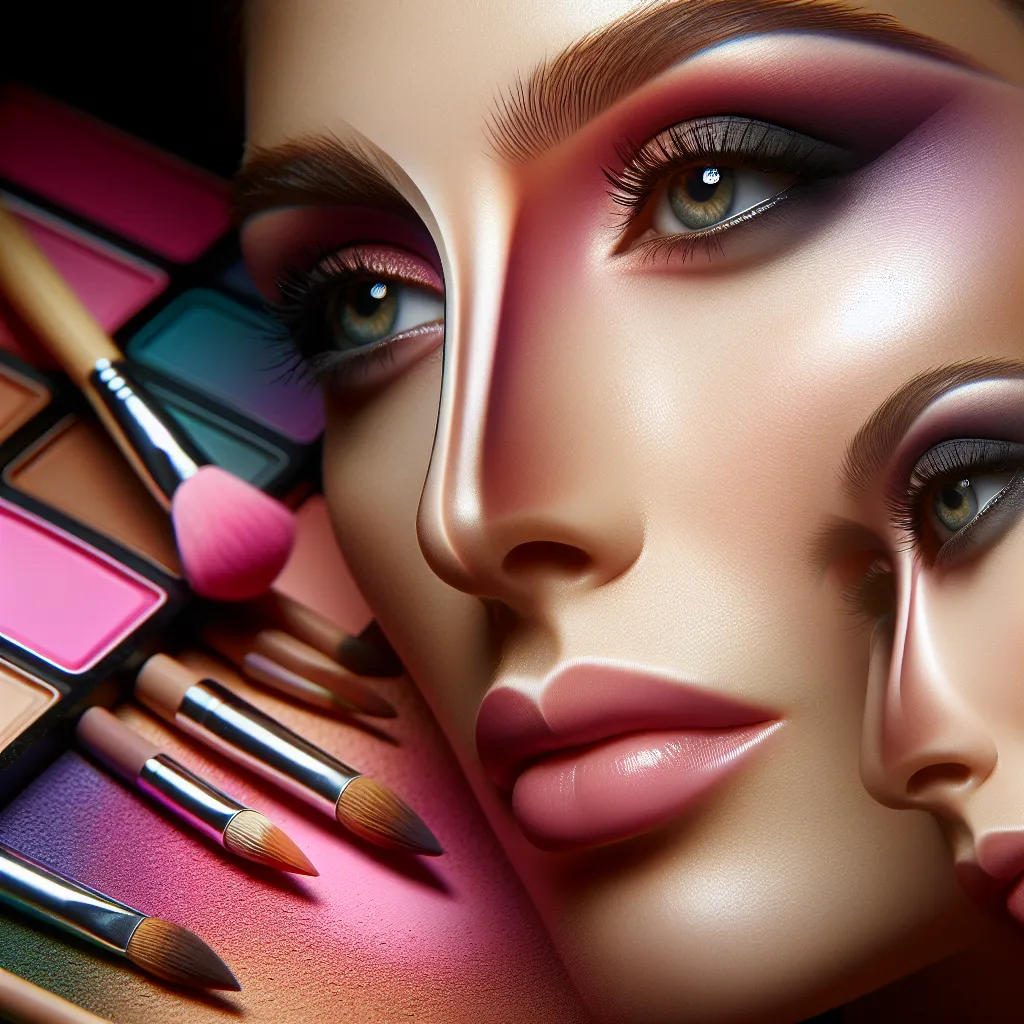
Choosing the right contouring products is crucial for achieving a flawless makeup look that enhances your natural features. When it comes to contouring, selecting the right products is essential for creating dimension and definition. There are a plethora of contouring products available in the market, including cream contour kits, powder contour palettes, and contouring sticks. Each type of product offers a distinct finish and level of blending, so it’s important to choose the one that best suits your skin type and makeup preferences.
Cream contour kits are ideal for those with dry skin as they provide a dewy finish and blend seamlessly into the skin. On the other hand, powder contour palettes work well for individuals with oily or combination skin, as they offer a matte finish and help control excess shine. Contouring sticks are perfect for a quick and easy application, making them great for on-the-go touch-ups.
It’s essential to consider your skin tone when selecting contouring products. Opt for shades that are only one or two shades darker than your natural skin tone to ensure a natural-looking contour. Additionally, choosing contouring products with a cool undertone is ideal for creating realistic shadows on the face, mimicking the effect of natural light and shadow.
When choosing contouring products, it’s also important to consider the tools you’ll be using for application. Different products may require different brushes or sponges for blending, so be sure to have the appropriate tools on hand for seamless application.
By selecting the right contouring products tailored to your skin type, skin tone, and makeup preferences, you can achieve a beautifully contoured look that enhances your natural features and boosts your confidence.
The Art of Blending: Achieving a Seamless Contour
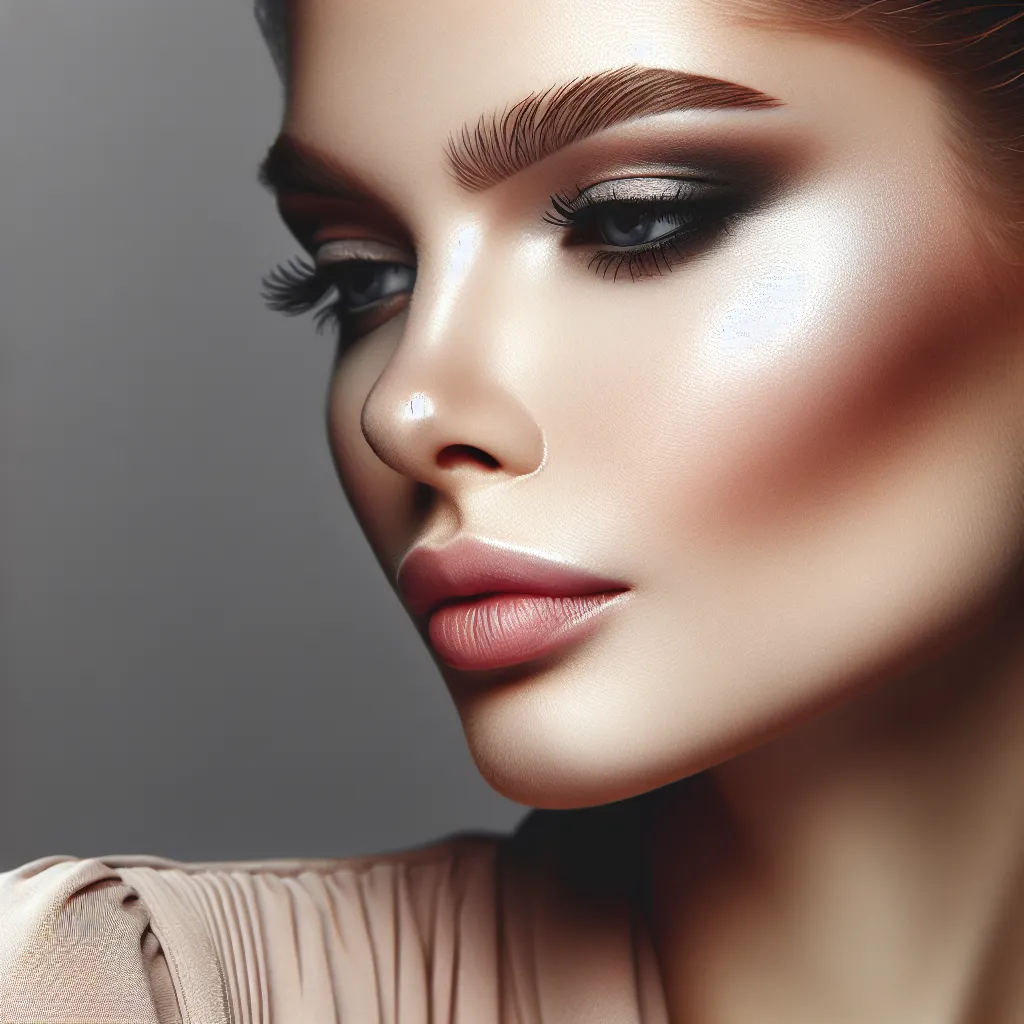
When it comes to the art of contouring, achieving a seamless blend is crucial in enhancing your natural features. The technique of blending involves the skillful application of contour and highlight products to create the illusion of dimension and symmetry on the face. To achieve a flawless blend, it’s essential to use the right tools and techniques.
One of the key elements of successful blending is choosing the appropriate products for your skin type and tone. Cream or powder contours and highlights can be selected based on personal preferences and skin texture. Additionally, using shades that are only a few tones lighter or darker than your natural skin color can contribute to a more natural-looking blend.
The blending process itself requires careful and precise application. Using a makeup sponge, brush, or fingers, gently blend the contour and highlight products into the skin using soft, sweeping motions. It’s important to blend in a way that diffuses any harsh lines and seamlessly melds the products with your skin, creating a soft and natural transition between the contoured and highlighted areas.
Furthermore, proper blending involves considering the overall harmony of the contour and highlight placement. By strategically blending the products along the natural lines and curves of the face, such as the hollows of the cheeks, jawline, and temples, you can achieve a balanced and well-blended contour that enhances your features without looking stark or unnatural.
In conclusion, mastering the art of blending is essential in achieving a seamless contour that enhances your natural features. By selecting the right products, using effective techniques, and paying attention to the overall harmony of the contour and highlight placement, you can achieve a beautifully blended and natural-looking contour that accentuates your unique facial structure.
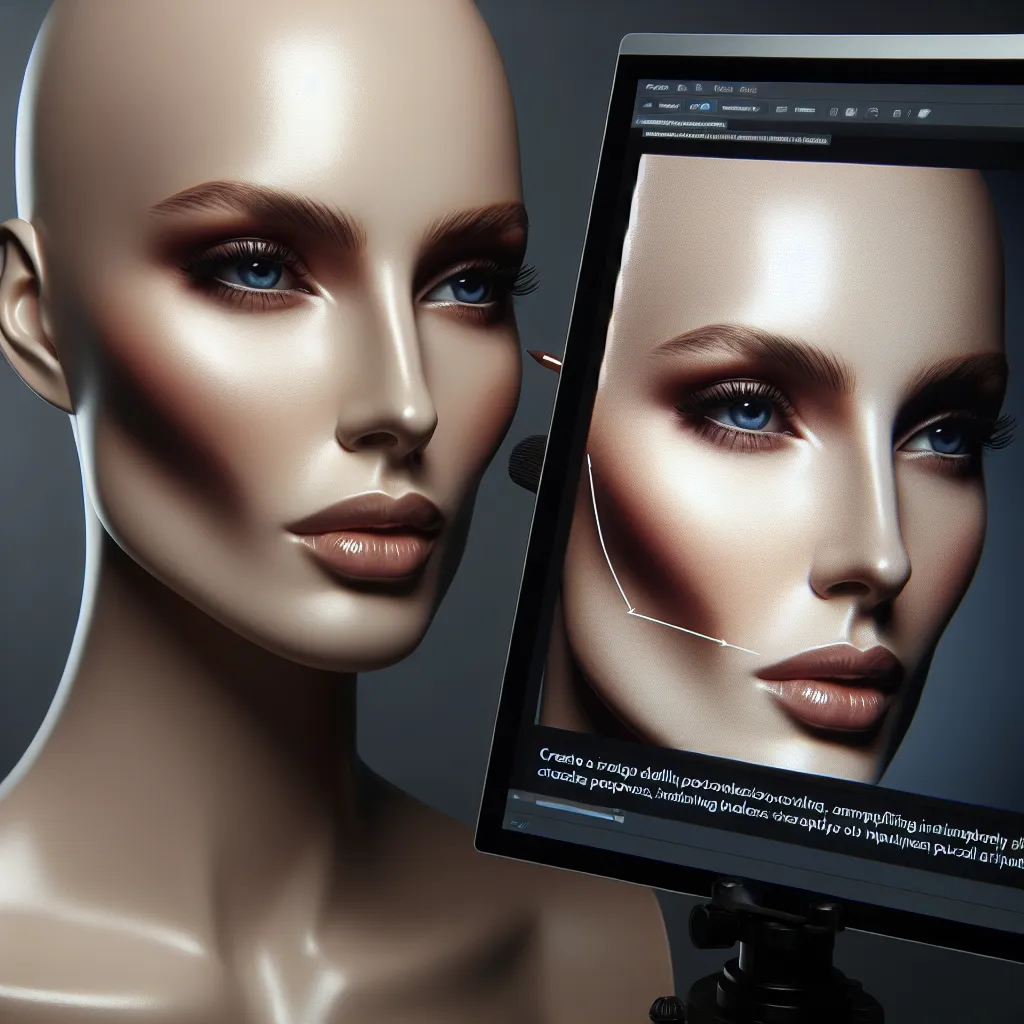
Contouring Tips for Different Face Shapes
Contouring is a popular makeup technique that can enhance your natural features and create a more sculpted look. However, not all contouring techniques work for every face shape. Understanding how to contour based on your face shape is essential for achieving the best results. Here are some contouring tips for different face shapes:
1. Round Face: For round faces, focus on contouring the outer edges of the face to create the illusion of defined cheekbones. Apply bronzer or contour powder along the jawline and blend it upwards towards the temples. Avoid contouring the center of the face to maintain a natural look.
2. Square Face: To soften the angles of a square face, concentrate on contouring the jawline and the corners of the forehead. Blend a contour shade along the hairline and under the jawline to create a more oval appearance. Keep the contour soft and well-blended for a natural effect.
3. Heart-shaped Face: With a heart-shaped face, focus on contouring the forehead and the jawline to balance out the wider top portion of the face. Apply contour along the hairline and under the jaw to minimize the width of the forehead and create a more harmonious look.
4. Oval Face: Those with an oval face shape have the flexibility to contour various areas without overemphasizing specific features. Focus on adding some dimension to the cheekbones and jawline, but be mindful not to over-contour, as the natural shape of an oval face is already balanced.
By understanding these contouring tips for different face shapes, you can tailor your makeup routine to complement and enhance your natural features. Experiment with these techniques to discover the best contouring approach for your unique face shape.