Understanding the Purpose of Highlighting in Makeup
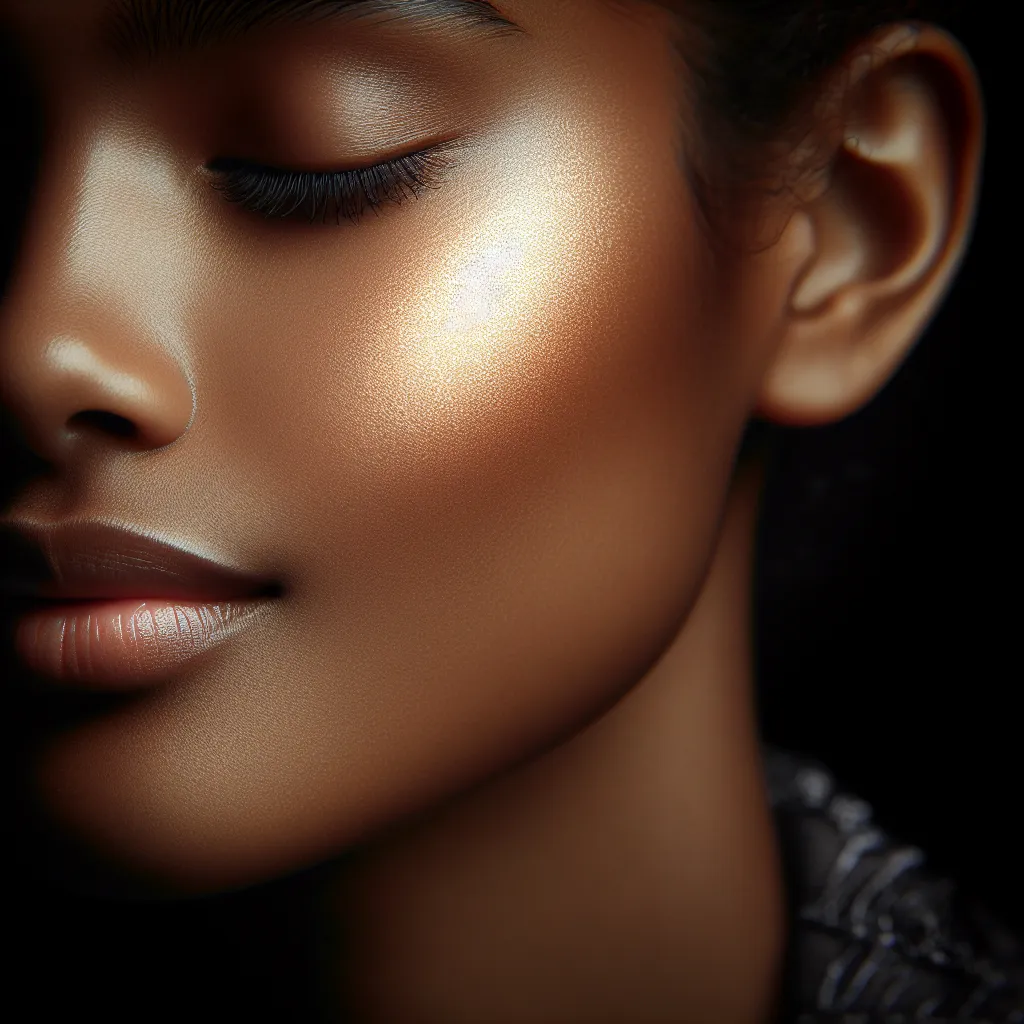
Understanding the purpose of highlighting in makeup is essential for mastering the art of makeup application. Highlighting is a technique that involves using light-reflecting products to enhance facial features, create dimension, and achieve a radiant, luminous complexion. By strategically applying highlighter to the high points of the face, such as the cheekbones, brow bones, cupid’s bow, and the bridge of the nose, you can add a soft, natural-looking glow to the skin.
Highlighting serves to bring forward specific areas of the face, effectively drawing attention to them and creating the illusion of a more sculpted and defined facial structure. This technique is particularly useful for accentuating the natural bone structure and adding a touch of radiance to the skin, resulting in a healthy and youthful appearance.
Furthermore, understanding the purpose of highlighting allows for the customization of makeup looks to suit individual preferences and facial shapes. Whether aiming for a subtle, everyday glow or a more pronounced, editorial-inspired look, mastering the art of highlighting enables makeup enthusiasts to adapt the technique to achieve their desired effects.
With the right understanding and application, highlighting can elevate a makeup look, imparting a beautiful, lit-from-within luminosity that enhances natural beauty and creates a polished and professional finish.
Choosing the Right Products for Effective Highlighting
Choosing the right products is essential for achieving an effective highlighting technique. When it comes to mastering the art of highlighting, the products you use play a crucial role in the final result. There are several key factors to consider when selecting the appropriate highlighting products for your skin type and desired look.
First and foremost, consider your skin type. If you have dry skin, opt for creamy or liquid highlighters that can provide a dewy finish and help hydrate the skin. For those with oily skin, powder highlighters are a better choice as they can help control shine and provide a long-lasting effect.
Next, consider the undertone of your skin. It’s important to choose a highlighter that complements your skin’s undertone to achieve a natural, seamless look. For warm undertones, gold and peach-toned highlighters work best, while cool undertones pair well with silver and champagne shades. Neutral undertones have the flexibility to experiment with a wide range of hues.
Furthermore, the intensity of the highlight is a crucial aspect. If you prefer a subtle, everyday glow, opt for a finely milled highlighter with a soft shimmer. For a more dramatic and intense highlight, choose a product with a higher concentration of shimmer or glitter particles.
Lastly, consider the application method that works best for you. Whether you prefer using a brush, sponge, or your fingertips, it’s important to choose a product that aligns with your preferred application technique for a flawless result.
By taking into account your skin type, undertone, desired intensity, and preferred application method, you can choose the right highlighting products to elevate your makeup game and master the art of highlighting effectively.
Step-by-Step Guide to Mastering Highlighting Techniques
Mastering the art of highlighting can truly elevate your makeup game, and with the right tips and techniques, you can achieve a flawless, illuminated look. Here is a step-by-step guide to mastering highlighting techniques that will help you achieve that coveted lit-from-within glow.
Step 1: Prep Your Skin – Start by prepping your skin with a hydrating primer to create a smooth base for your highlighter. This will ensure that your highlighter goes on evenly and lasts throughout the day.
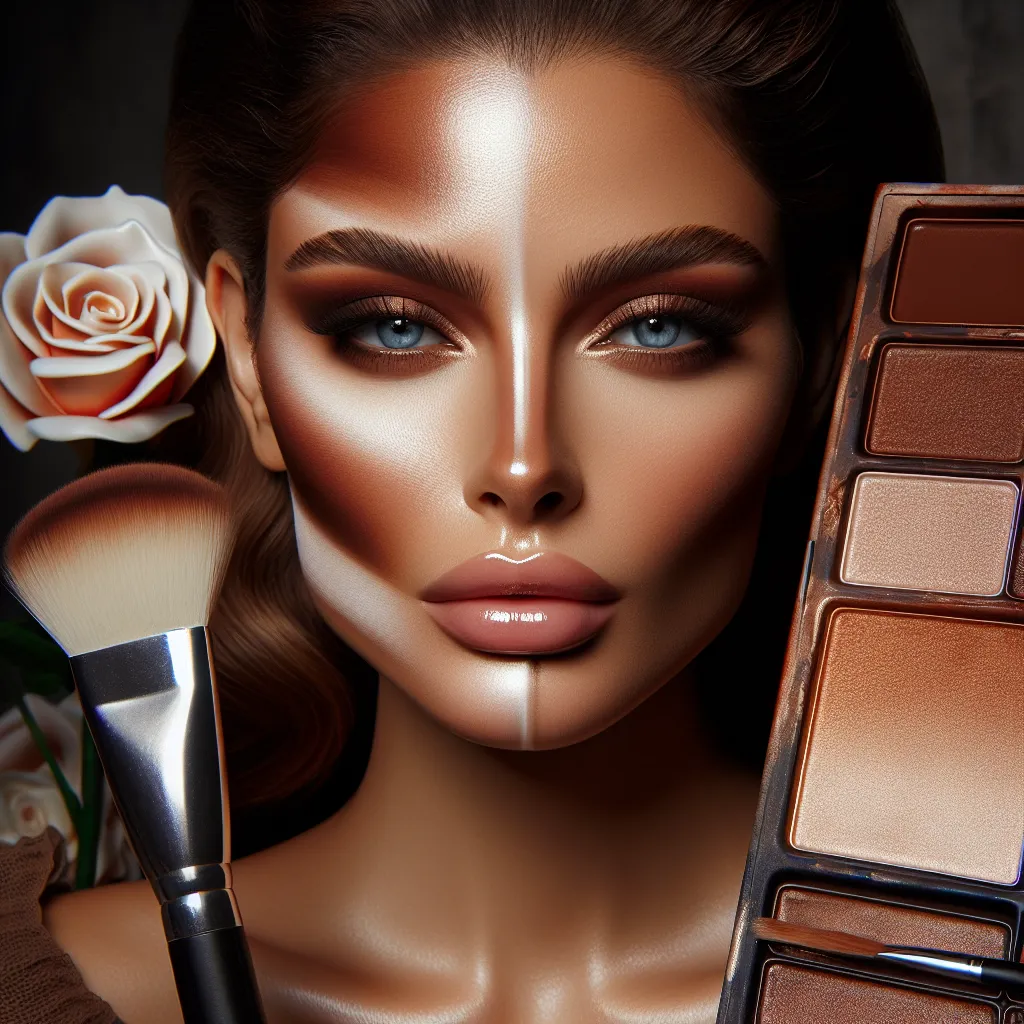
Step 2: Choose the Right Highlighter – Select a highlighter shade that complements your skin tone. For fair skin, opt for a champagne or pale gold highlighter, while rose gold and peachy tones work well for medium skin. Deep skin tones can go for richer golds and bronzes.
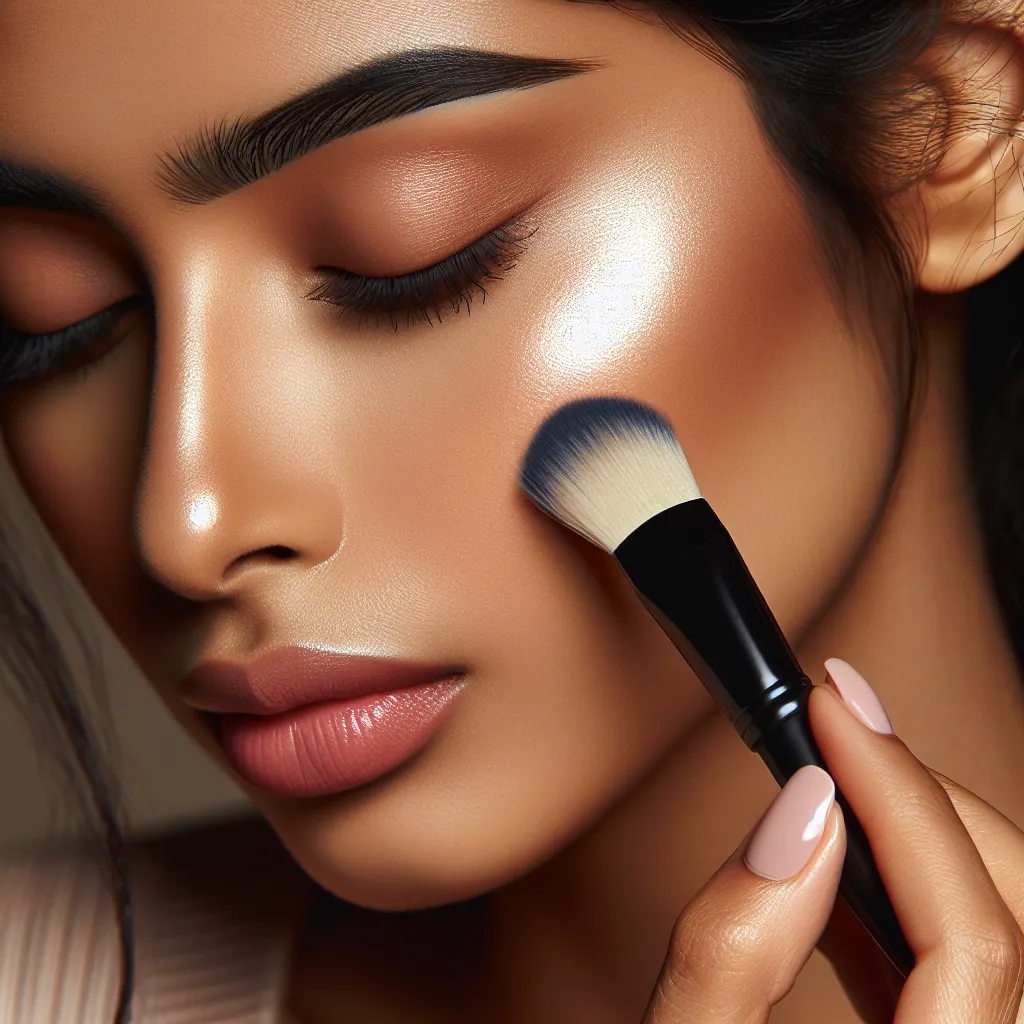
Step 3: Apply Strategically – Using a small, tapered brush, apply the highlighter to the high points of your face, including the tops of your cheekbones, the bridge of your nose, the brow bone, and the cupid’s bow. Be mindful of not overdoing it – a little goes a long way.
Step 4: Blend, Blend, Blend – After applying the highlighter, blend it out seamlessly to avoid any harsh lines. A beauty sponge or a fluffy brush works well for this step, ensuring a natural, radiant finish.
Step 5: Set it in Place – To ensure your highlighter stays put all day, mist your face with a setting spray to lock in the glow and prevent any cakiness.
By following this step-by-step guide, you can master the art of highlighting and achieve a beautifully luminous complexion that enhances your natural beauty.