Understanding the Basics of Contouring
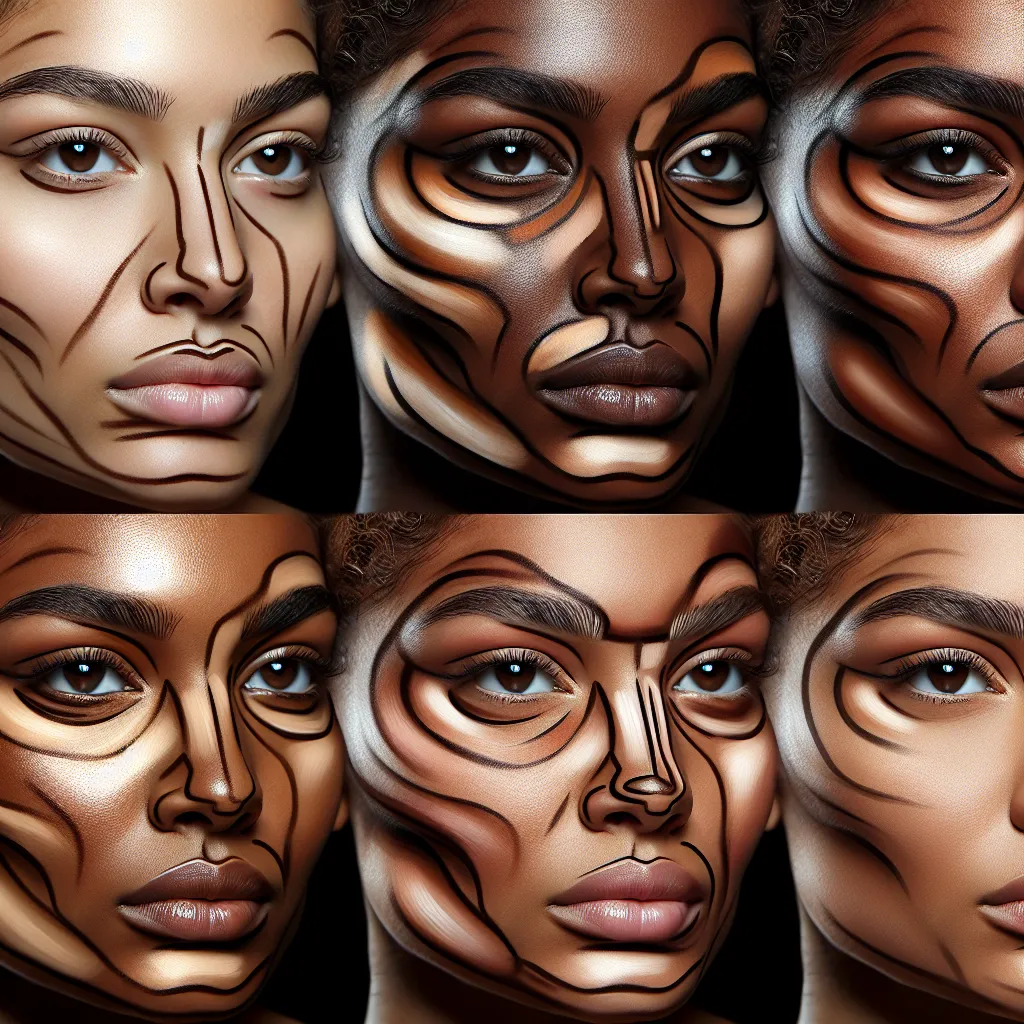
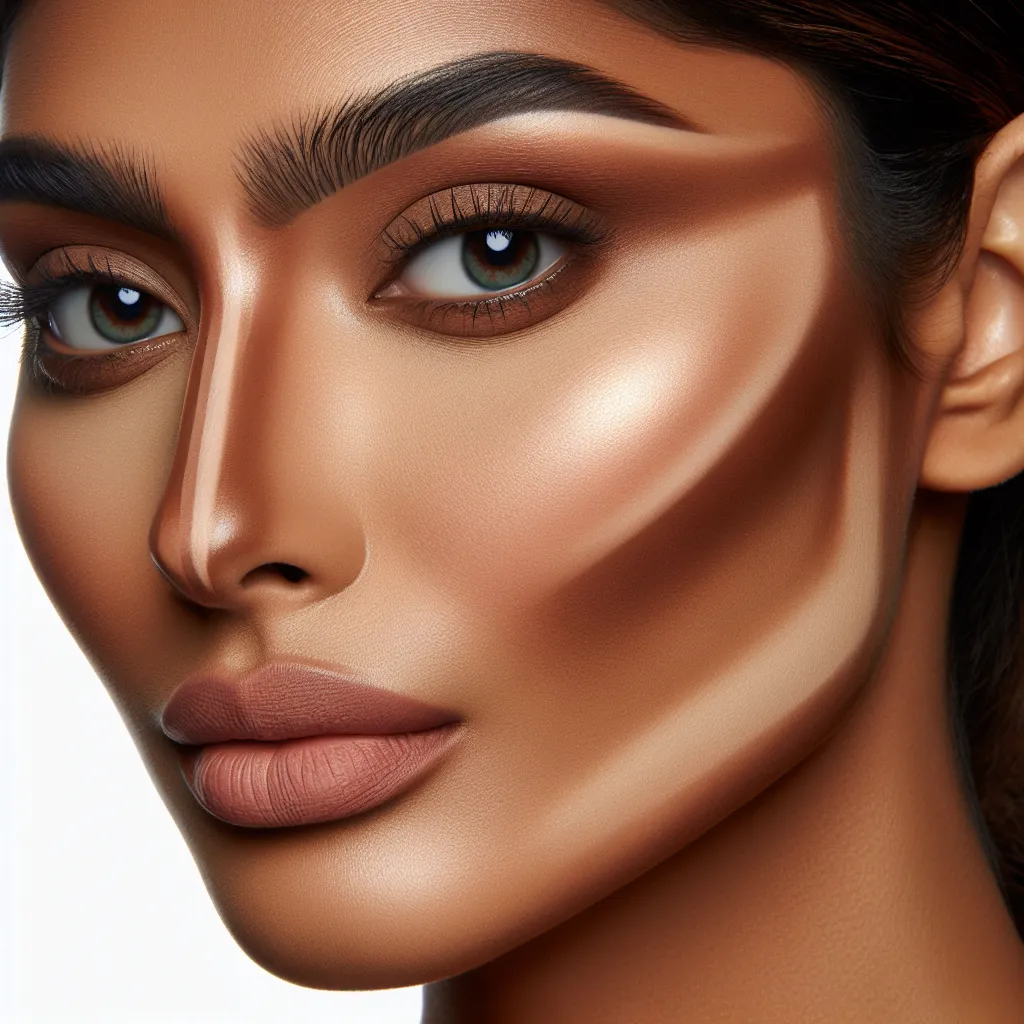
Understanding the basics of contouring is essential for mastering this popular makeup technique. Contouring involves using darker and lighter shades to define and enhance the natural structure of the face. The key areas to focus on when contouring are the cheekbones, jawline, forehead, and nose. By strategically applying darker shades to create shadows and lighter shades to highlight, you can sculpt and shape your features for a more defined and polished look.
When choosing contouring products, opt for shades that are a few tones darker than your natural skin tone for the contour and a few tones lighter for the highlight. Cream or powder products can be used depending on your skin type and personal preference. It’s important to blend the contour and highlight seamlessly to avoid any harsh lines and achieve a natural-looking result.
Understanding the basics of contouring lays the foundation for mastering more advanced techniques. With practice and the right products, contouring can become a valuable skill in your makeup repertoire, allowing you to enhance your features and create a flawless, sculpted appearance.
Essential Tools and Techniques for Contouring
Sure! Here’s a fragment of the article:
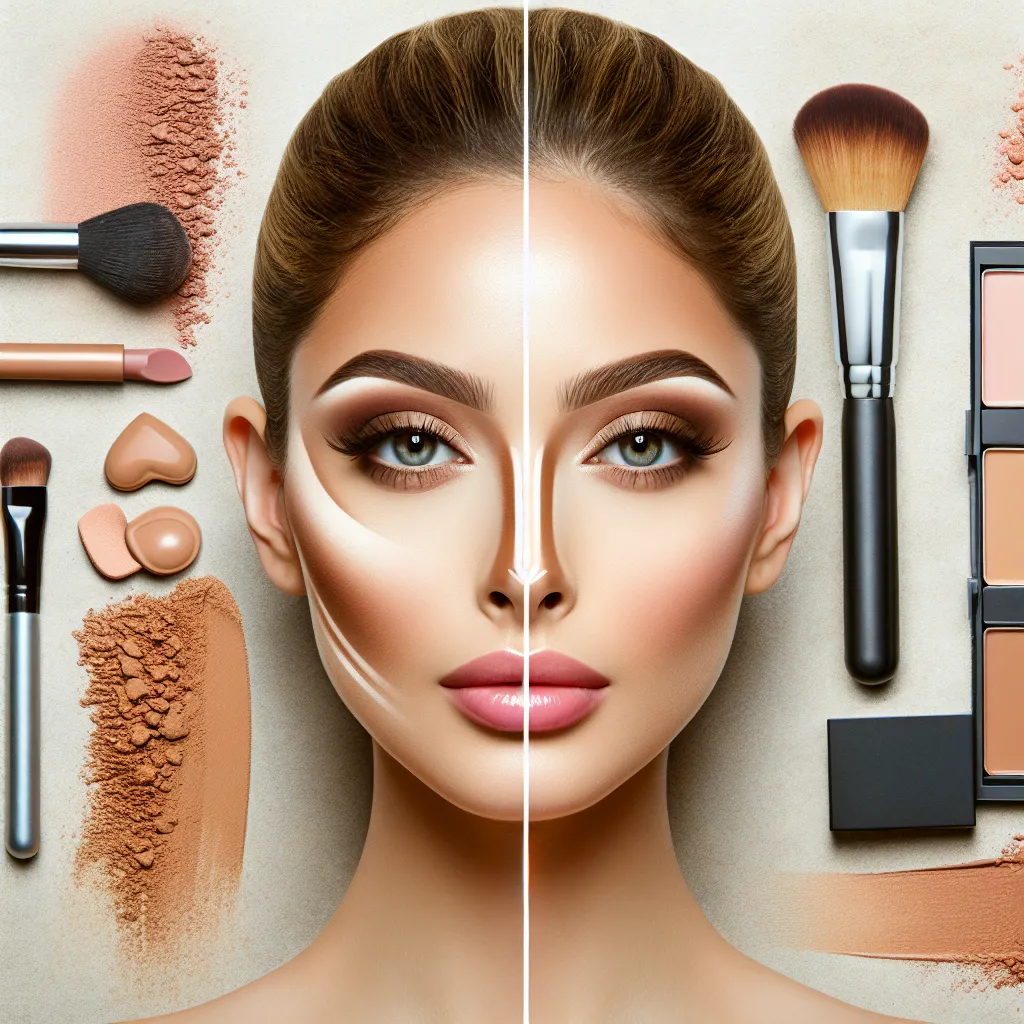
When it comes to mastering the art of contouring, having the essential tools and knowing the right techniques is crucial for achieving flawless results. The key tools for contouring include a contour brush, a highlighter brush, and a blending sponge. The contour brush is specifically designed with a narrow, angled tip to precisely apply contour product along the hollows of the cheeks, jawline, and sides of the nose. On the other hand, a highlighter brush is perfect for applying highlighter to the high points of the face, such as the cheekbones, brow bones, and the bridge of the nose.
As for the techniques, it’s important to start with a good base, which includes foundation and concealer to even out the skin tone. Then, using the contour brush, apply a contour shade that is two shades darker than your skin tone to the areas you want to sculpt and define. Blend the contour product using a light hand and small, circular motions to avoid harsh lines. Next, use the highlighter brush to apply a highlight shade to the areas you want to emphasize, such as the tops of the cheekbones and the tip of the nose. Finally, use a blending sponge to seamlessly blend the contour and highlight products for a natural-looking finish.
This approach not only defines the facial features but also enhances and complements the overall makeup look. By mastering the essential tools and techniques for contouring, anyone can achieve a beautifully sculpted and radiant complexion.
Perfecting Your Contouring Skills: Tips and Tricks
Perfecting Your Contouring Skills: Tips and Tricks
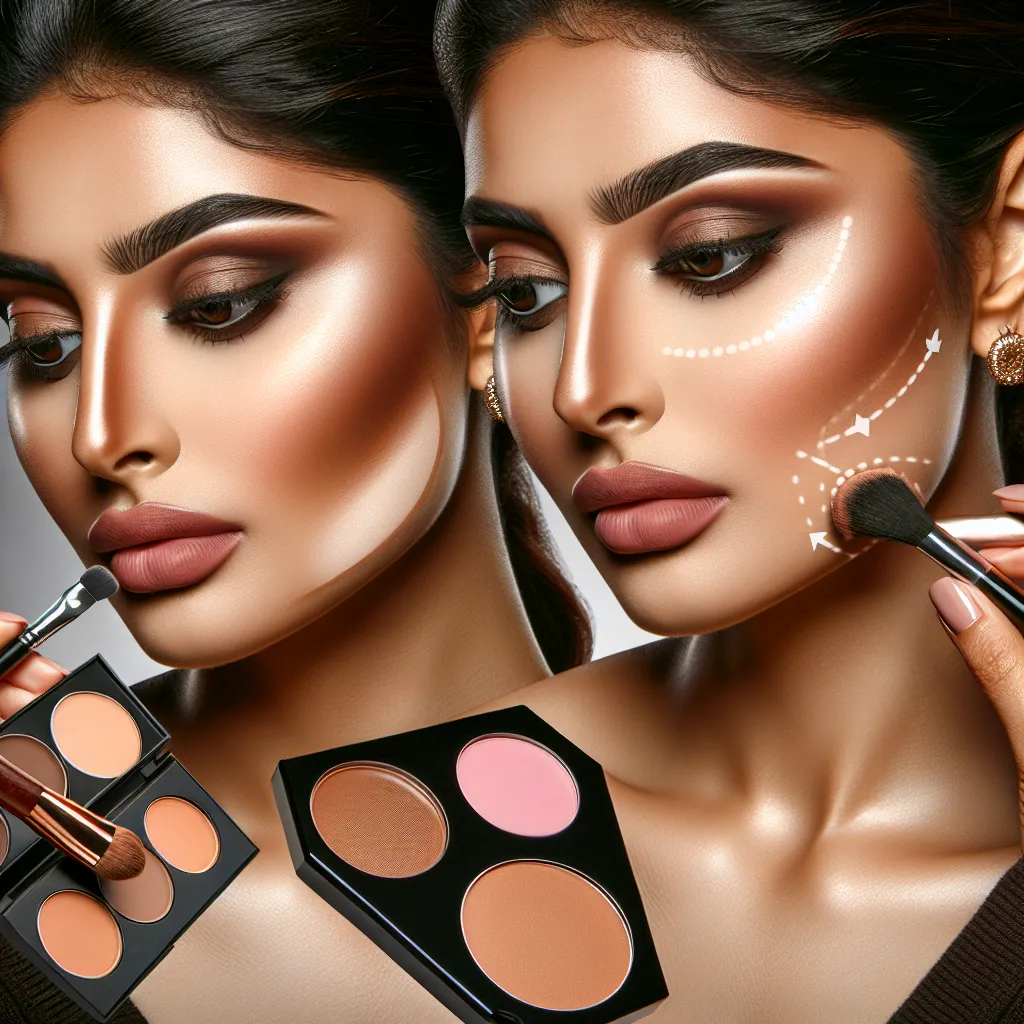
Contouring has become an essential skill in the world of makeup, allowing individuals to enhance their facial features and create a more sculpted appearance. To master the art of contouring, it’s crucial to understand the tips and tricks that can take your skills to the next level.
1. Choose the Right Products:
Selecting the appropriate contouring products is crucial for achieving a seamless and natural look. Opt for a matte bronzer or contour powder that is only two shades darker than your natural skin tone. Avoid products with shimmer, as they can make the contour appear unnatural.
2. Understand Your Face Shape:
Every face is unique, and understanding your face shape is essential for effective contouring. Whether you have a round, square, oval, or heart-shaped face, the placement of contour and highlight will vary. Research the specific techniques for your face shape to achieve the most flattering results.
3. Blend, Blend, Blend:
One of the most important aspects of contouring is blending. Harsh lines and unblended contour can result in an unnatural appearance. Use a damp makeup sponge or a soft, fluffy brush to blend the contour and highlight seamlessly into the skin for a flawless finish.
4. Practice Lighting and Placement:
Consider the lighting in which you’ll be seen. Contouring for daytime may differ from contouring for evening events or photography. Additionally, paying attention to the placement of contour and highlight is crucial for creating dimension and structure while maintaining a natural look.
5. Less is More:
When it comes to contouring, it’s important to remember that less is more. Building up layers of product gradually will prevent overdoing it and allow for better control over the intensity of the contour.
By implementing these tips and tricks, you can perfect your contouring skills and achieve a beautifully sculpted look that enhances your natural features. Contouring is an art, and with practice and attention to detail, anyone can master this transformative makeup technique.