Contouring Basics: How to Sculpt Your Face Like a Pro
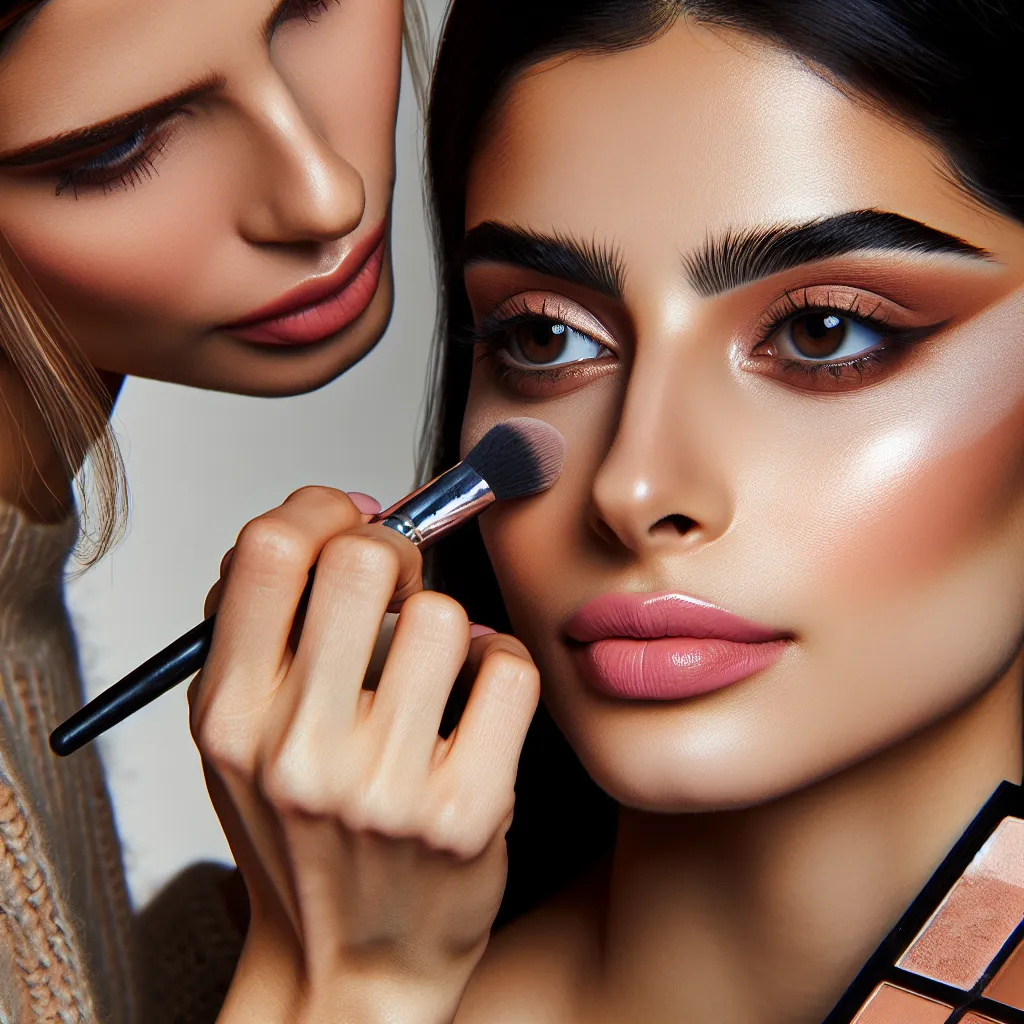
Mastering the art of contouring can elevate your makeup game to pro-level status. Contouring is a makeup technique that involves using darker and lighter shades to sculpt and define the face, creating the illusion of enhanced cheekbones, a slimmer nose, and a more structured jawline. When it comes to contouring basics, the key is to choose the right products and understand the facial structure.
Start by selecting a matte contour product that is a few shades darker than your natural skin tone. Avoid shimmer or glitter, as it can create an unnatural finish. For beginners, cream contour products are often easier to work with, as they blend seamlessly into the skin. When it comes to the application, remember that less is more. Build up the product gradually to avoid harsh lines and always blend thoroughly for a seamless, natural look.
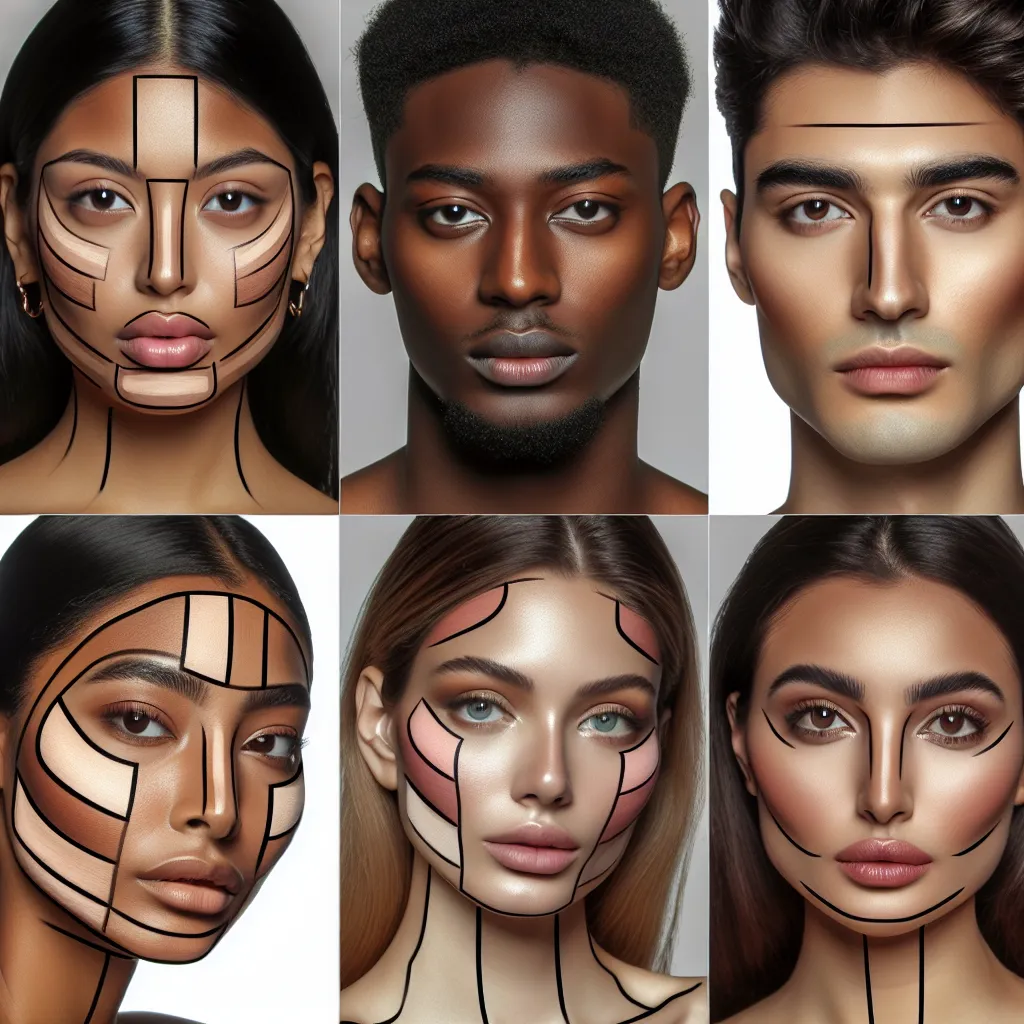
Understanding your face shape is essential for effective contouring. For example, to sculpt the cheeks, apply the contour shade directly below the cheekbones and blend upwards. To slim the nose, apply the contour product along the sides of the nose and blend well to avoid harsh lines. Finally, don’t forget to blend the contour along the jawline and the hairline to add dimension and structure to the face.
Mastering the basics of contouring takes practice, but with the right techniques and products, anyone can sculpt their face like a pro. Whether you’re aiming for a subtle, everyday look or a glamorous, evening glam, contouring is a powerful tool in your makeup arsenal.
Choosing the Right Contouring Products for Your Skin Type
When it comes to mastering the art of contouring, choosing the right products for your skin type is crucial. Understanding your skin’s unique characteristics will help you select the perfect contouring products that will enhance your features and provide a natural, flawless look.
For those with dry skin, cream-based contour products are ideal as they provide a hydrating formula that won’t cling to dry patches. Look for cream contour palettes with moisturizing ingredients such as vitamin E or argan oil. These products will blend seamlessly into the skin, creating a soft, natural-looking contour.
If you have oily skin, opt for powder contour products that offer a matte finish. Powder contours help absorb excess oil and provide a long-lasting, shine-free look. Choose a finely-milled powder that won’t clog your pores and provides buildable coverage for a sculpted effect without any added shine.
For those with combination skin, consider using both cream and powder contour products strategically. Use a cream contour in areas prone to dryness and a powder contour in oilier areas to achieve a balanced, flawless finish.
No matter your skin type, it’s important to select contour products that are a few shades darker than your natural skin tone to ensure a natural-looking shadow. Additionally, always remember to blend thoroughly for a seamless transition between your natural skin tone and the contour product.
By understanding your skin type and choosing the right contouring products, you can achieve a beautifully contoured look that enhances your features and complements your skin’s unique qualities.
Advanced Contouring Techniques to Enhance Your Features
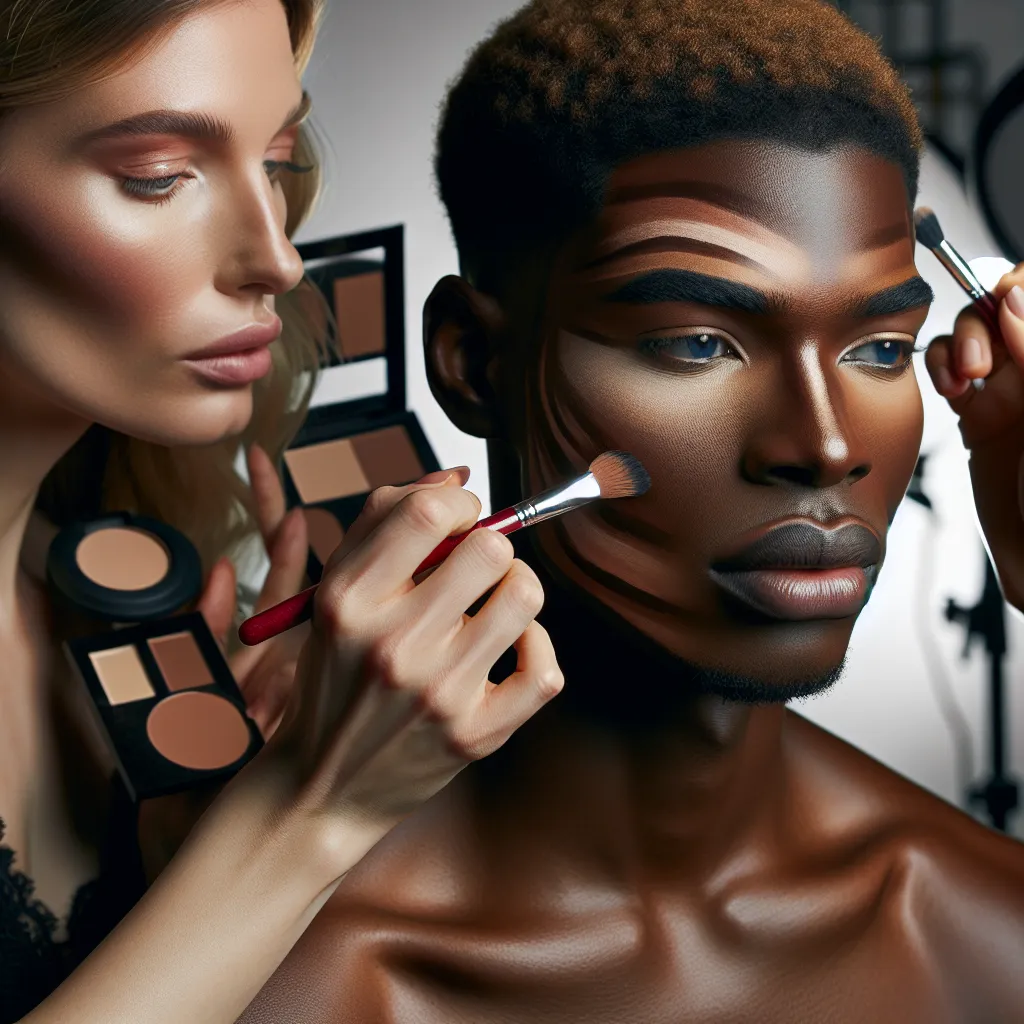
Mastering the art of contouring can transform your makeup game, allowing you to enhance your natural features and create stunning, sculpted looks. While basic contouring techniques lay the foundation, advanced contouring takes your skills to the next level, helping you achieve a flawless, professional finish. Here are some advanced contouring techniques to elevate your makeup game:
1. Reverse Contouring: This technique involves using a subtle contour shade on the high points of the face, such as the forehead, cheekbones, and jawline, to add dimension and warmth. By strategically placing the contour in these areas, you can achieve a more natural-looking sculpted effect.
2. Nose Contouring: Refining the shape of the nose with contouring requires precision. By using a lighter shade down the center of the nose and a slightly darker shade on the sides, you can create the illusion of a slimmer, more balanced nose. Blend carefully to maintain a seamless and realistic appearance.
3. Jawline and Neck Contouring: Enhancing the jawline and neck can contribute to a more defined and elegant look. By applying contour just below the jawline and blending it down towards the neck, you can create a more sculpted and refined profile. Blending is key to achieving a natural transition between the contoured areas and the rest of the face.
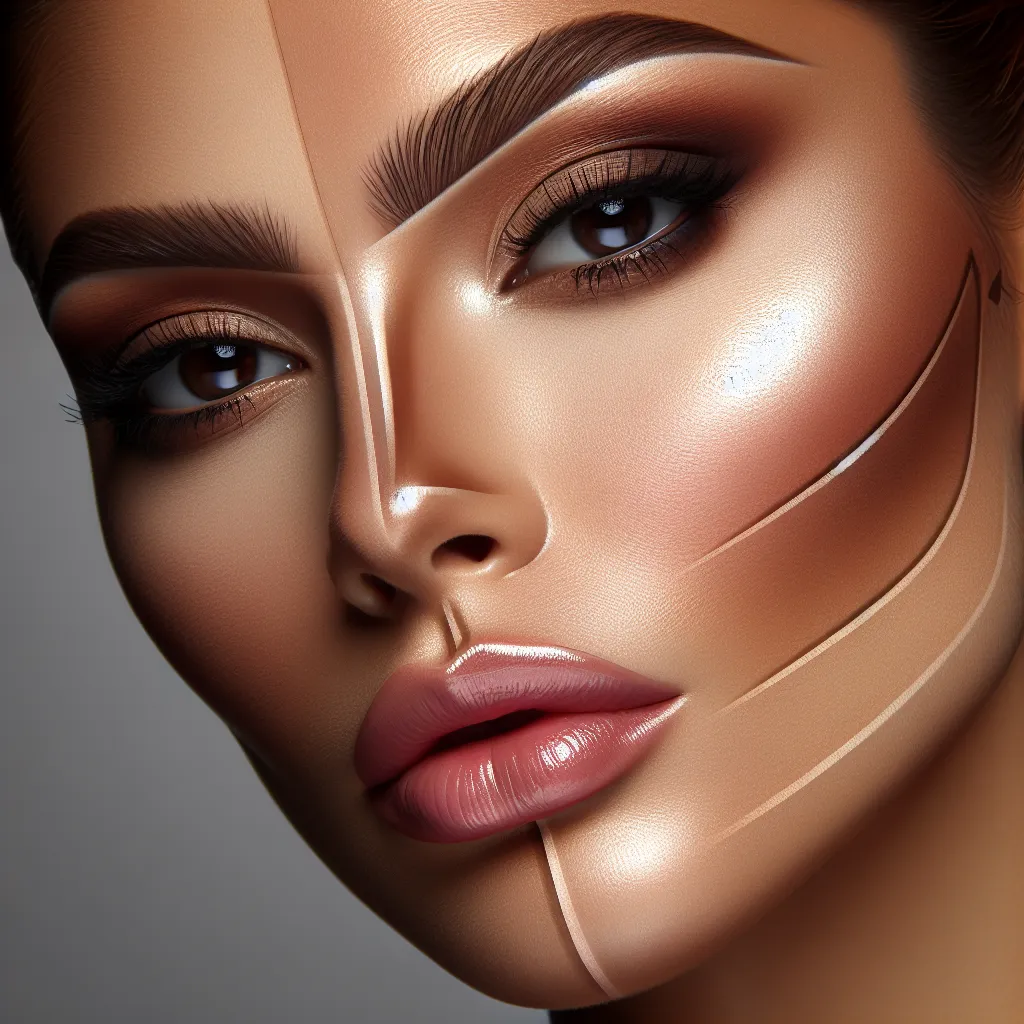
4. Cheekbone Enhancements: Taking your cheekbone contouring to the next level involves using a combination of contour and highlight to bring out the natural structure of your face. By blending a contour shade just below the cheekbones and applying a complementary highlight shade on top, you can achieve a lifted and radiant look.
Mastering these advanced contouring techniques requires practice and patience, but the results are well worth the effort. Remember, the key to successful contouring lies in seamless blending and choosing shades that complement your skin tone. Experiment with different techniques and products to find the perfect combination that enhances your unique features.
By incorporating these advanced contouring techniques into your makeup routine, you can elevate your skills and achieve a professional, sculpted look that enhances your natural beauty.
Expert Tips for Blending and Perfecting Your Contoured Look
Mastering the art of contouring requires not only precision in application but also expertise in blending for a seamless and natural-looking finish. Achieving a perfectly contoured look involves strategic placement of darker and lighter shades along the natural contours of the face, followed by expert blending techniques. Here are some essential tips for blending and perfecting your contoured look:
1. Use the Right Tools: Investing in high-quality makeup brushes and sponges is crucial for achieving a well-blended contour. A tapered brush for precise application and a damp sponge for seamless blending are essential tools to have in your kit.
2. Gradual Build-Up: Start with a light hand and gradually build up the intensity of the contour to avoid harsh lines. Blending as you go will help achieve a naturally sculpted look without overdoing it.
3. Focus on Seamless Transitions: Blending is key to a flawless contour. Focus on seamlessly blending the darker contour shades into the lighter highlight shades to avoid any harsh demarcation lines.
4. Consider Your Face Shape: Tailor your contouring technique to your specific face shape. Different face shapes may require different contouring placement and blending methods to accentuate or soften certain features.
5. Natural Lighting is Your Best Friend: Always blend your contour in natural lighting to ensure it looks seamless and well-blended in all lighting conditions, especially in the harsh light of day.
By mastering the art of blending, you can elevate your contouring game and achieve a flawlessly sculpted look that enhances your natural features without looking heavy or overdone. Practice, patience, and the right techniques will ultimately help you perfect your contoured look.